An alert this morning from the ever-vigilant Piotr Trumpiel in London (thank the typewriter gods someone is watching over me) led me back to my Olivetti Valentine-Dora conversion project. This in turn meant a hurried reassembly of both machines and I thought I might as well photograph that process too. Reassembling a Dora involves no more than four screws and the bottom cover plate, which is of course mere child's play. However, reassembling the Valentine can be a bit more of a challenge, so for the benefit of anyone facing this task, here are the steps. For taking the Valentine apart in the first place, just reverse this order (except the spacebar guard comes off before the main part of the mask):
1. Tackle the main section of the mask first - it won't go back on if the spacebar guard has already been reattached. Gently press down on all the keytops on the top bank of the keyboard so that the typebars hold together in a bunch at the printing point. Make sure the ribbon vibrator is raised to its highest point so you can press the ribbon colour selector switch to its lowest setting. Use some means of ensuring the margin release/paragraph indentation key and the tab set and clear switch both stay depressed (I tied them down with a cotton bud, but a rubber band or Cellotape or some such thing will also do the trick).
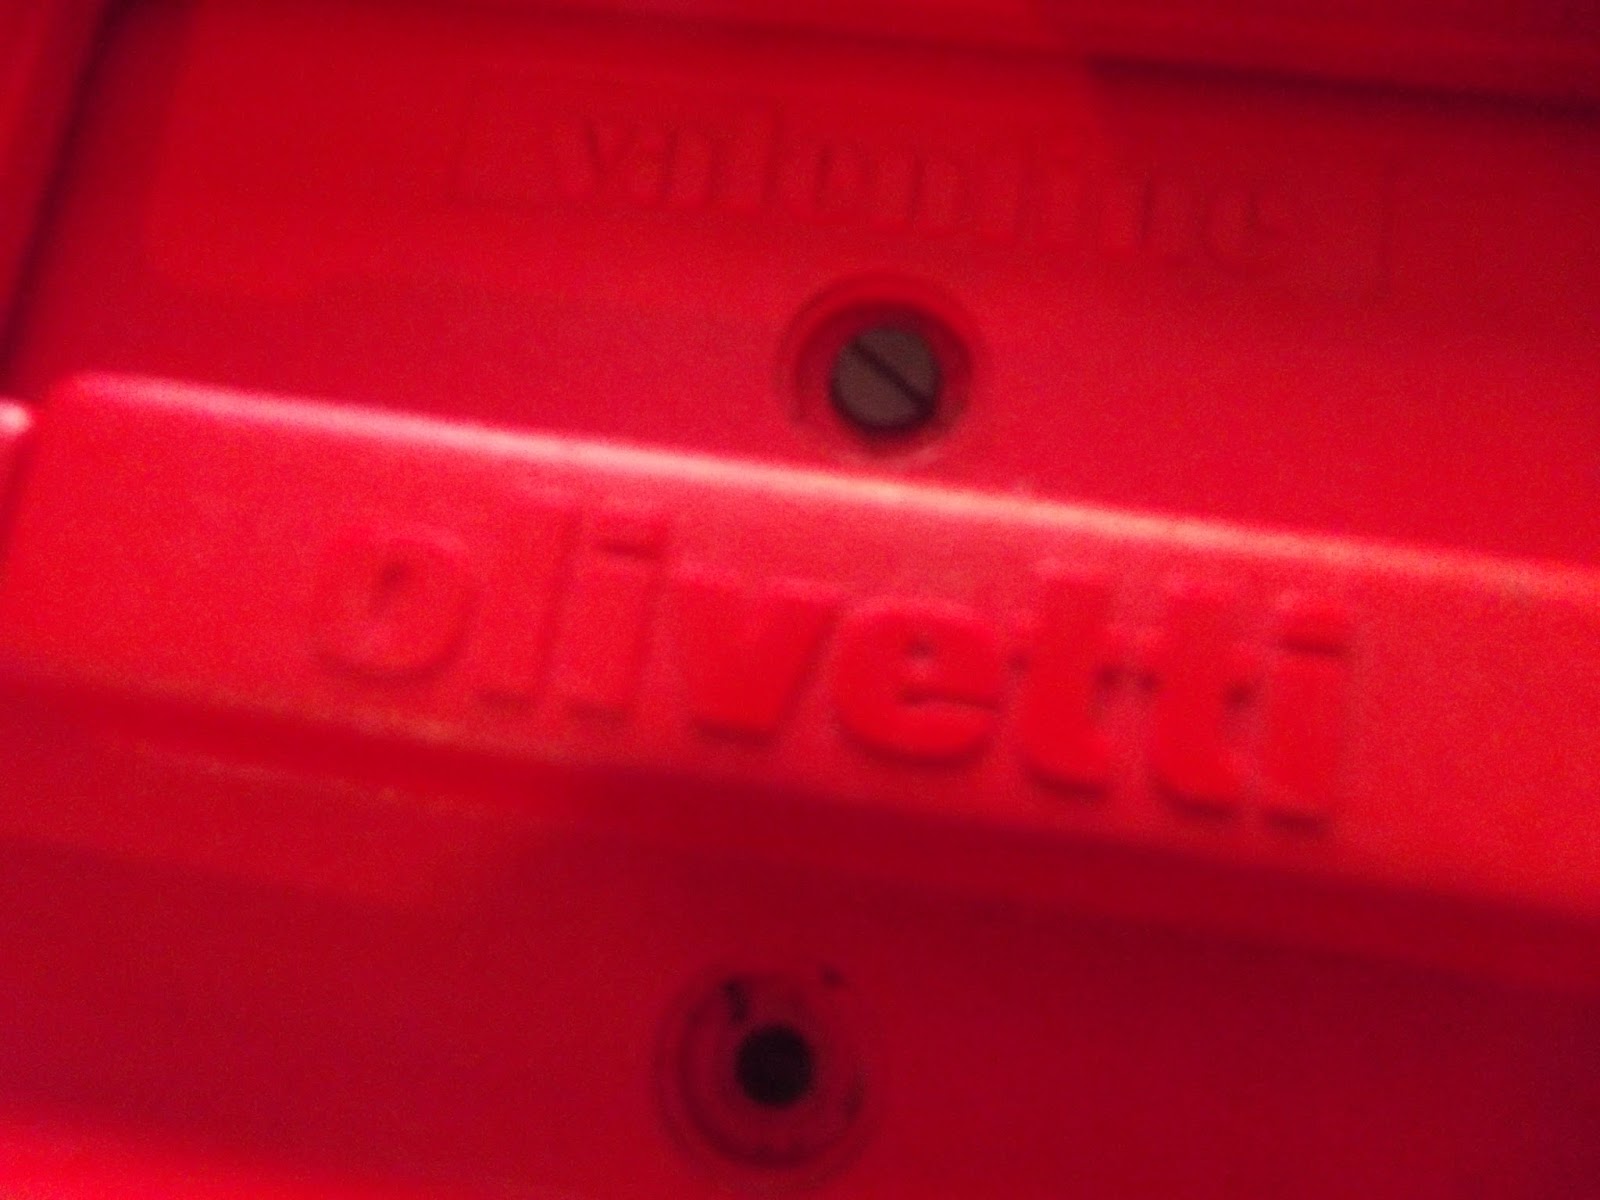
2. With this top row of keytops and switches all down, the main part of the mask slips back on very easily. Make sure it lines up properly on each side and at the back.
3. Screw this main part of the mask back on to the mechanics. Do not fully tighten the first screw until all four screws are reattached. First screw in one corner (say, bottom right), then the opposite corner (top left), so that the other two screw holes will be lined up without the need to check. Because of Olivetti's peculiar type of screw holes, it is vital the mask is properly lined up all round. I used a small torch to see that I was on the right spot for the first screw, and a toothpick to ensure this was indeed the case.
4. Next reattach the spacebar guard. I had the advantage here of a special typewriter tool specifically designed for such a job. The tool came in handy in this tight spot, where there wasn't enough room to use long-nosed pillars and tighten the small nut properly. The nut slots into the tool head and allows you to easily get it back on, straight and firm.
5. Finally, reattach the back section, which is the top part of the Valentine's case. Screw in the centre two screws first, to ensure the section is straight and flush. Cover with the screw caps.
For the nuts on each end of this section, I could have used one of the same sort of typewriter tools as I had used for the front bar. But here there was plenty of room for me to use long-nosed pillars to get a nice tight grip.
All finished. It should take no longer than about 5-10 minutes to get it done.
Here are a few of the typewriter tools used for unwinding or reattaching nuts in tight spaces. If anyone wants one, please let me know. They are free to a good home, but you pay for the postage. Some obviously differ to cover a range of nut sizes.
Jasper's Dora took no more than a minute to reassemble:


4 comments:
Good advice. I had to take apart a Valentine a few weeks ago and found the spacebar to be particularly annoying!
What would the postage for the most universal size be to Seattle?
Hey I just purchased a Mercedes Super T. I'm trying to take all the plastic off to clean the plastic more thoroughly. I'm wondering is there a trick to getting the plastic cover off? Or do I need to take apart the carriage first? So far, after removing the screws attaching the plastic cover it's loose but I can't lift it past the carriage nor, the carriage lock. Any help would be much appreciated. And great blog by the way!
Hello.An Olivetti Valentine was my first typewriter, when it was introduced in Denmark. I still have it!
I have a problem: it writes OK black, now with new black/red ribbon. But with red, the ribbon vibrator raise more slowly and falls back very slowly, giving half red/black or all-black letters.
Any suggestion for solution, without dismantle/ with dismantle typewriter?
Thanks and best regards
Jens Breinegaard, Elsinore, Denmark
Post a Comment