After talking about it with John Lavery ("McTaggart") during the week, I decided the Imperial 70 I was given last weekend deserved another close look, to consider the possibility of a transformation to a clean, working typewriter. Outwardly, at least at the first glance, it had seemed beyond redemption. For one thing, the carriage component was jammed on tight, and at a very serious angle.
In the end I felt it was worth persevering with, worth trying to save from the scrapheap. John suggested a way of unjamming the carriage component, because that had to be the start: to get the component off. If I had failed to do that, I would have proceeded no further.
I figured someone had either tried to get the component off, had got it jammed because they didn't know what they were doing and gave up, or else they had tried to put the component back on, with the same result. John came up with another thought - that someone had stupidly lifted this very heavy typewriter by the carriage.
With some gentle coaxing, I managed to get the slide which grips the carriage component to the body of the typewriter to move, and eventually the component did come off. Thus encouraged, I ploughed on into this major project.
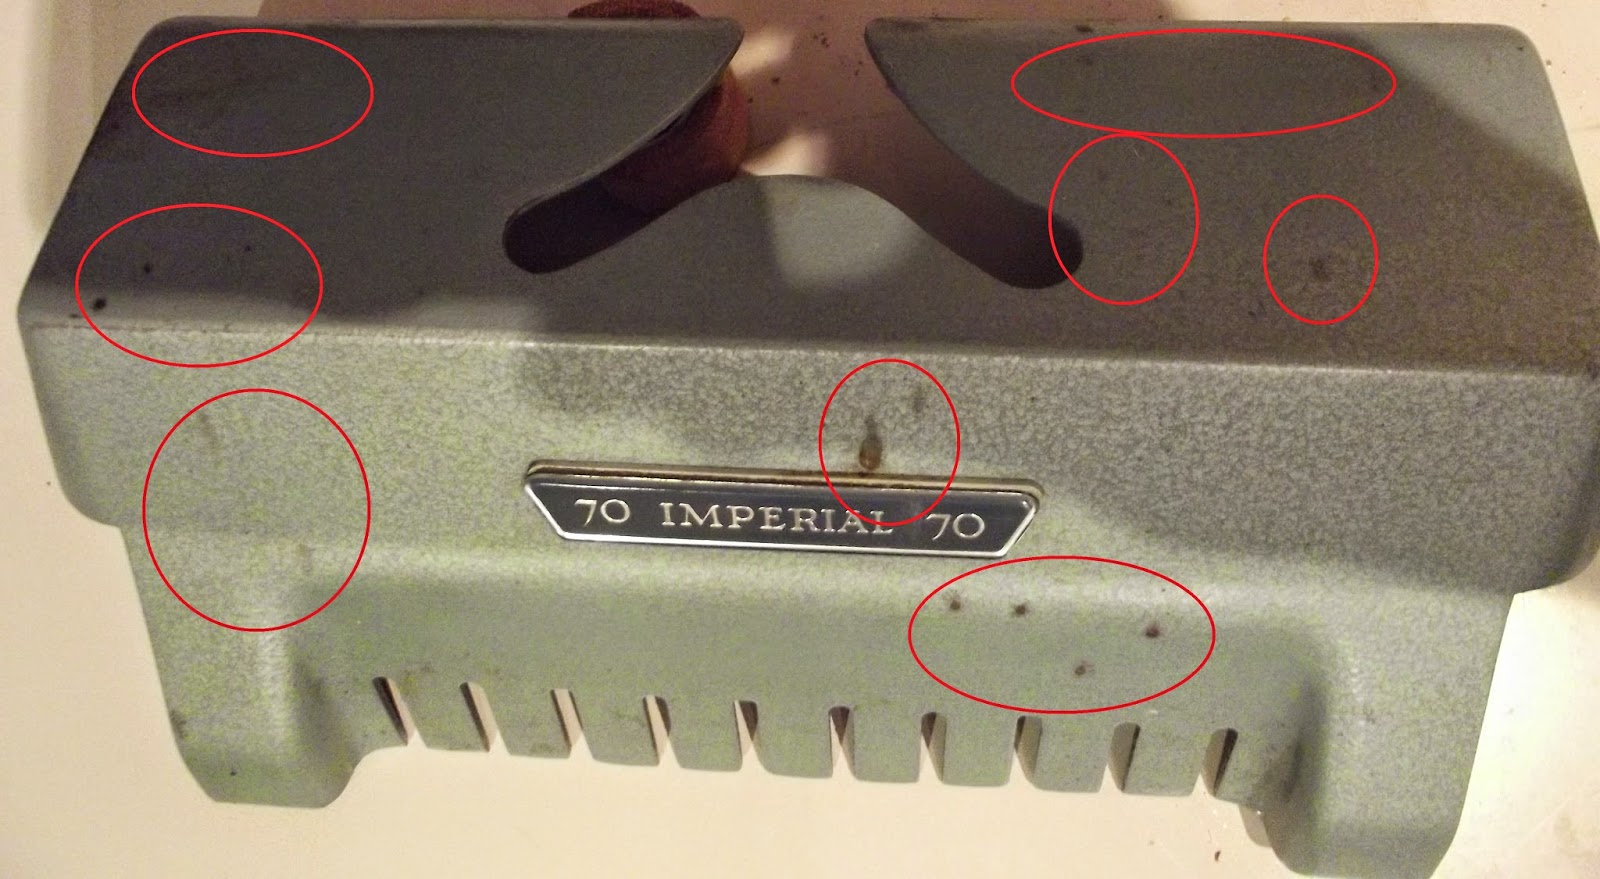
Starting from the top ... the ugly rust spots on the ribbon spools cover:
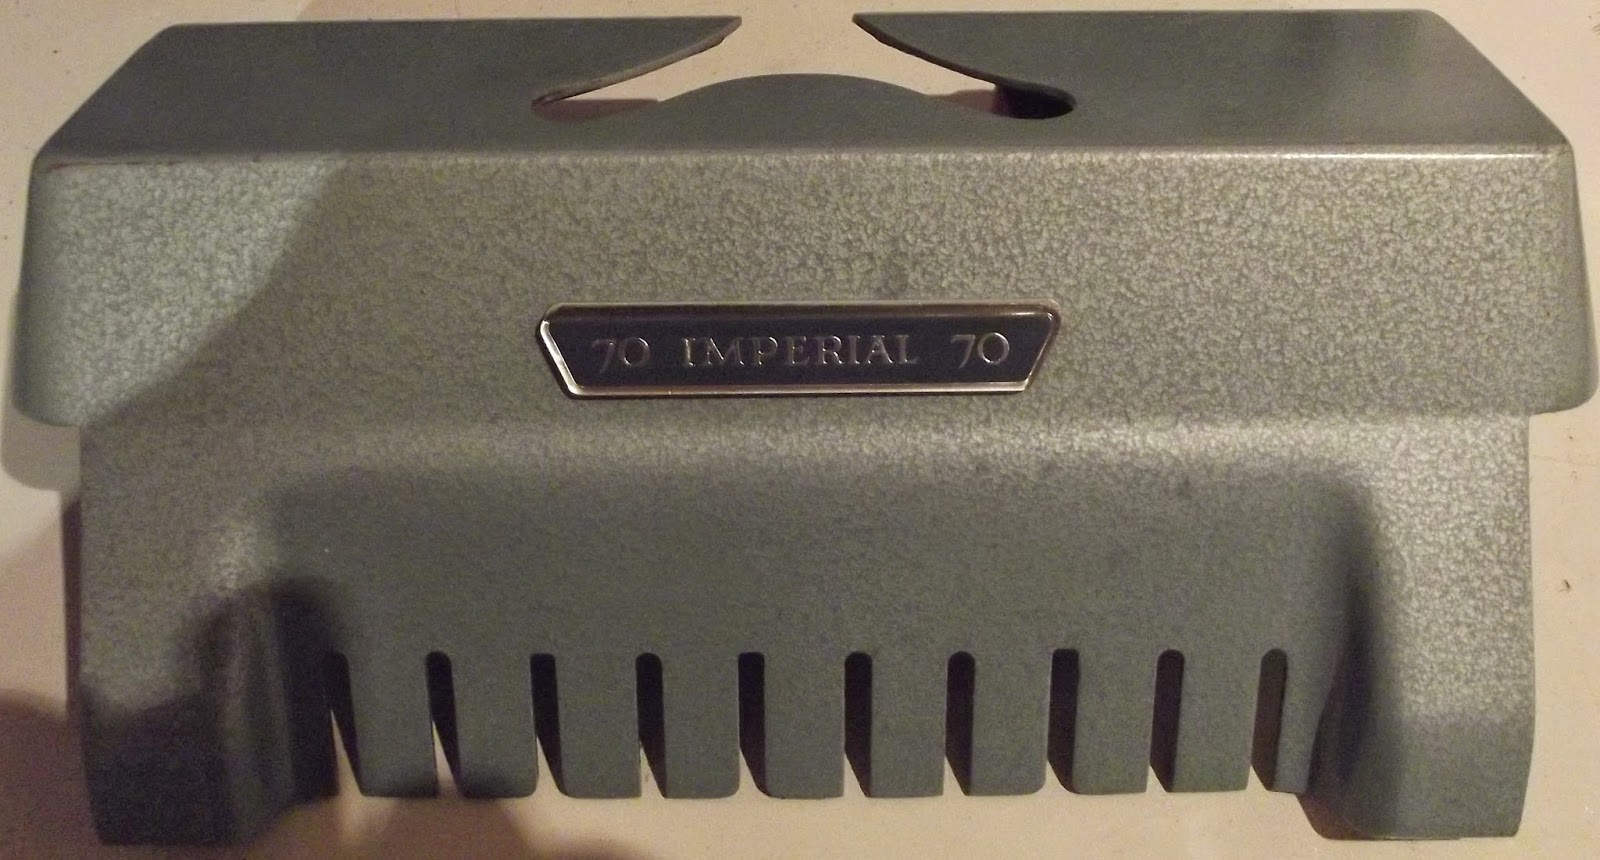
These came off with a small dab of kitchen "cream cleanser" and a gentle rub. Done with care, this removes the rust spots without wearing the paintwork or dulling the sheen. A quick rub-over with silicone lubricant or a tiny bit of oil will ensure the sheen remains. A semblance of rust stain may still be apparent, but it's certainly a long way better than it was.
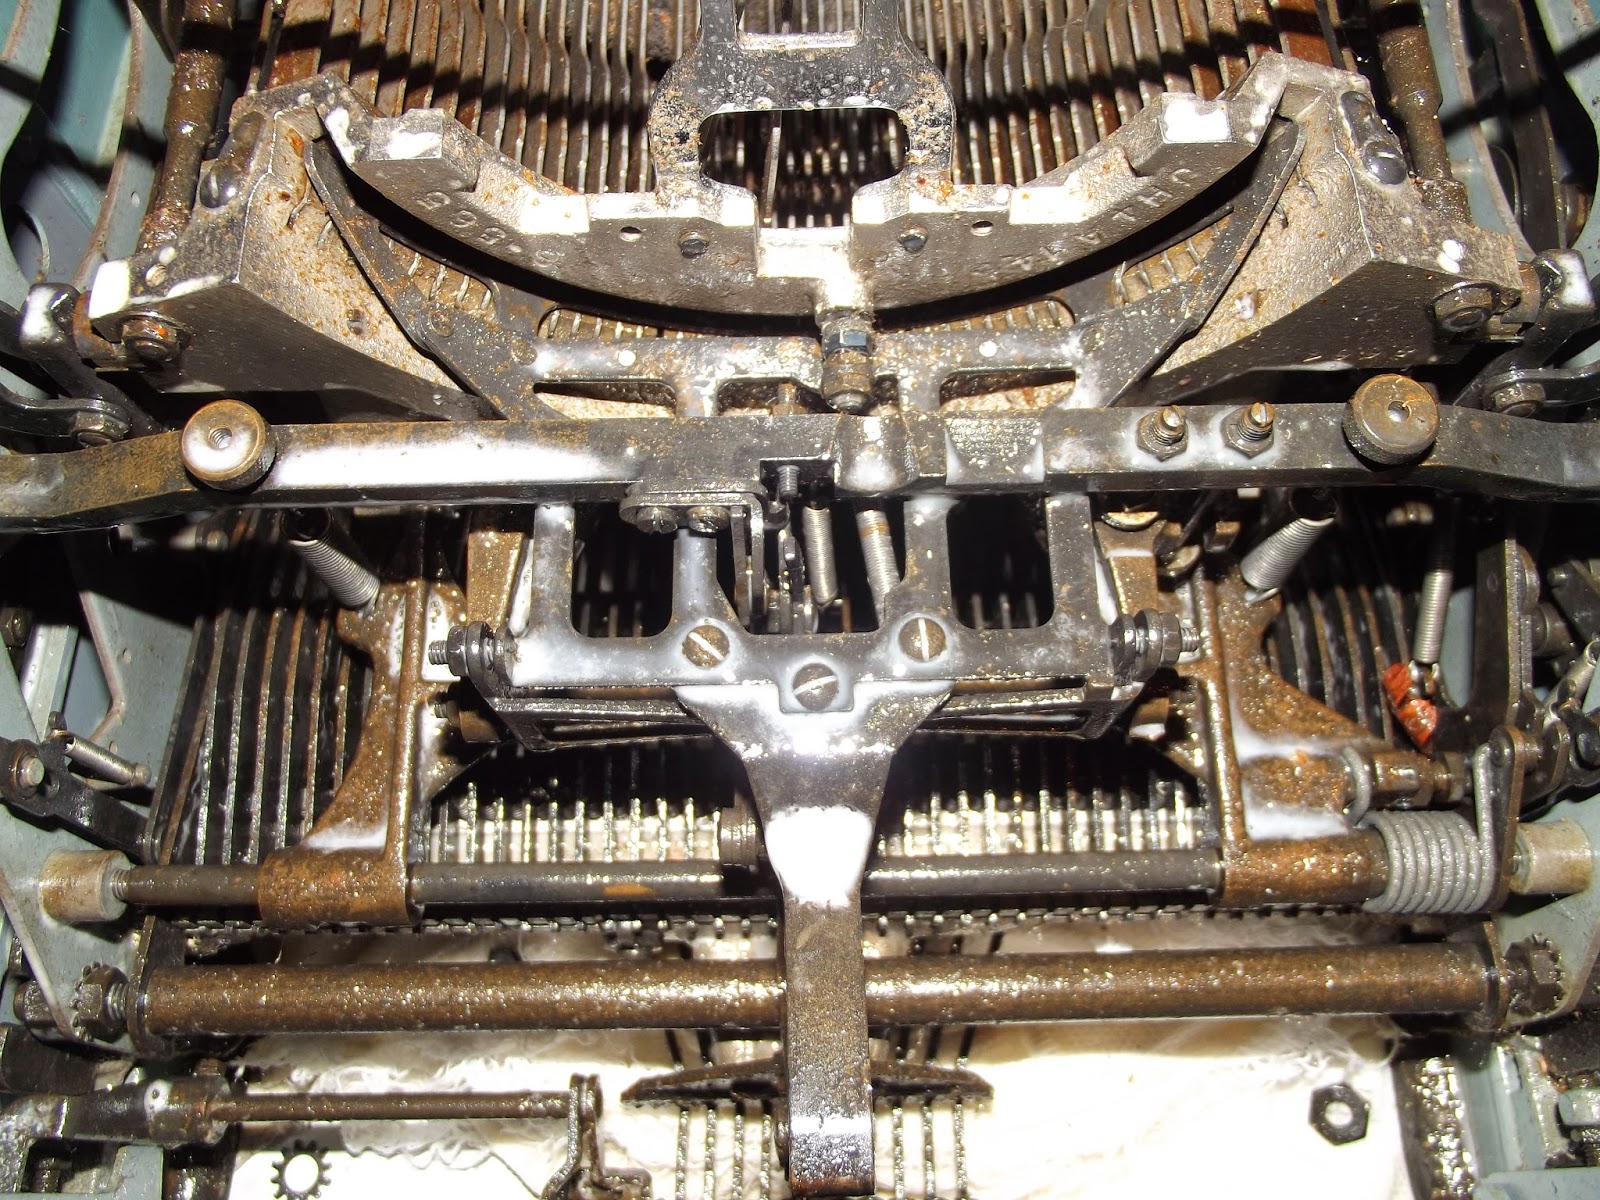
As pleasing a result of this was, it was just the beginning. With the carriage component off, the full extent of the build-up of rust and rubbish was all too evident. Obviously this machine had been left outside for a very long time, exposed to the elements, and was screaming out for a typical "typewriter bath" - the degreaser-foam cleaner and lubricant treatment (with cotton buds and toothpicks to get into the tiny grooves and cervices).
For interest sake, I timed myself on this operation. It took all of nine minutes to get the surface and mechanism sparkling clean. Why the previous owner couldn't have found a mere nine minutes to at least give this lovely typewriter a bit of a clean-up is beyond me. It went from this:
To this in nine minutes!
In the process, however, I spotted something I should have noted when I took the carriage component off - no drawband! The drawband would normally run up to and over the wheel seen in the back centre above. Usually, when taking the carriage component off an Imperial-designed and Leicester-made standard, it is wise to unhook the drawband from the carriage, maintaining the tension, and temporarily hook it on to the mechanism seen above.
A look under the machine revealed the tell-tale snapped off end of the drawband, dangling below the main frame. In snapping, it had wrapped itself around the mainspring. That meant, to unwind the drawband and re-set the mainspring, I had to take off the hood of the tab mechanism at the back of the typewriter, in order to get at the long bolts which hold the large plate under the carriage component to the main frame. This exposed even more gunk.
A hint for anyone faced with this task: The hood over the tab mechanism contains, on its right, a tab-clear mechanism with a large, wide spring and a lever. Try to ensure, when unscrewing the hood, that these do not drop out.
Another hint: When faced with the problem of rusted parts, NEVER use a spray-on rust remover, unless you can remove all traces of it almost immediately after spraying it on. Make sure it goes nowhere near the escapement rack and congeals there. And take special care to ensure it does not touch the rubber on the platen.
Finally, when using the degreaser spray, keep it off paint surfaces and decals. Again, unless cleaning off straight away, also keep it away from keytops and the platen.
This large plate under the carriage is held at the front by two large screws and at the back by these long bolts (below).
The 70 was the last standard made by Imperial to its own design, and is the first (and only) Imperial standard to incorporate carbon ribbon. This means that with this large plate under the carriage, the 70 design differs considerably from earlier Imperial standard models. For one thing it embraces the ribbon spools (see image three down). For another - critically - the carbon ribbon spools are turned by a chain belt which winds round this spindle (seen below), a component attached to the large plate under the carriage. In other words, to take the large plate off and get at the mainspring and (drawband), it may be necessary to unattach this chain belt. I guess it comes down to a question of whether you want to use the typewriter in the conventional manner with normal ribbon, and not bother with the carbon ribbon.
Finally, we get to the broken drawband wrapped around the mainspring.
This shows the significant difference in the design of the large plate under the carriage on the 70, which embraces the conventional ribbon spools. The spindles at bottom (below, right) connect to the spindle which turns the carbon ribbon spools.
Much simpler ... the large plate off an earlier Imperial standard (below). The addition of the carbon ribbon spools meant extending this plate on the 70 to take in the conventional ribbon spools mechanism, making it a damned sight more difficult to take the large plate off the main frame.
Having taken off the large plate under the carriage, it was time for me to resume cleaning the mechanics. An idea of the mess can be gleaned from the image below, after just one foam bath with the degreaser-cleaner.
Apart from all the other debris, there is plant matter inside the machine. I have decided to leave the project at this stage until tomorrow, when in daylight I can take the machine outside and use an air compressor to blow all the rubbish out. In the meantime, I will let this segment section soak in the degreaser foam overnight.
If I don't have the typewriter reassembled, looking spick and span, and working, by tomorrow afternoon, my name won't be Rumpelstiltskin. Which it's not.


.JPG)
.JPG)
.JPG)


